

Summarize in
Starting an Airbnb sounds simple. List your space, accept bookings, make some extra money.
In reality, a few early decisions make the difference between a smooth experience and a stressful one. From setting up your space to handling your first guests, the beginning steps you take matter more than most people expect.
The good news is that you don’t need prior hosting experience to get started. You just need a clear plan, realistic expectations, and a setup that works for both you and your guests.
We’ll walk through how to start an Airbnb step by step, with a focus on what actually matters when you’re just getting started.
Airbnb at a Glance
|
Metric |
Figure |
|
Active listings worldwide |
8 million+ |
|
Hosts globally |
5 million+ |
|
Countries with listings |
220+ |
|
Average U.S. host annual income |
~$14,000 |
|
Average nightly rate (North America) |
$208 |
|
Average guest stay length |
4.3 nights |
|
Nights & experiences booked (2025) |
~533 million |
Sources: Airbnb Q4 2025 Financial Results, iPropertyManagement, Backlinko
Table of contents
- Is starting an Airbnb right for you?
- Check local rules and requirements first
- Decide what kind of Airbnb you want to run
- Prepare your space for guests
- Create your Airbnb listing
- Set your pricing
- Get your first bookings
- Make your hosting easier with Touch Stay
- Final thoughts
- Frequently asked questions
Is starting an Airbnb right for you?
Before you get into listings, pricing, or getting 5-star reviews, it’s worth taking a step back and asking yourself a simple question: is Airbnb something you actually want to manage?
Hosting can be rewarding, but it’s not passive, especially at the beginning.
You’ll need to:
- Respond to guest messages quickly
- Keep your space clean and ready between stays
- Handle last-minute issues, like late check-ins or missing items
- Stay on top of bookings and availability
There’s also a people aspect to it. You’re inviting strangers into your space, which means being comfortable with a certain level of unpredictability.
That said, the numbers suggest it’s worth considering. The average U.S. host earns around $14,000 per year in supplemental income. And you don’t need an investment property to get started.
In fact, over 60% of U.S. hosts rent out their primary home while they’re on vacation. The fastest-growing host demographic is seniors, with over 400,000 senior hosts on the platform, which shows that hosting is accessible regardless of age or background.
A simple way to think about it:
If you’re looking for completely hands-off income, Airbnb may not be the right fit
If you’re open to a bit of structure and interaction, it can work very well
Getting clear on this early will save you time and help you set up your Airbnb in a way that actually suits your lifestyle.
Tip: You don’t need to optimise everything from the start. A simple setup works better than trying to perfect every detail.
Check local rules and requirements first
We’re going to assume you already have the space you want to turn into a money-maker. Before you set up your listing, take a few minutes to check what’s allowed in your area.
Short-term rental rules vary widely depending on where you live, and it’s much easier to handle this upfront than fix issues later.
In some cities, you can list your space on Airbnb without much setup. In others, you may need to register your property, apply for a permit, or follow specific limits on how often you can host.
A few things to look into:
- Whether short-term rentals are allowed in your building or area
- If you need a licence or registration number
- Local tax requirements (such as tourist or occupancy taxes)
- Any restrictions from your landlord or HOA
If you’re renting, it’s especially important to check your lease. Some agreements don’t allow subletting or short-term stays, and violating that can cause bigger problems than it’s worth.
This doesn’t need to turn into a long research project.
A quick check on your local government website or Airbnb’s hosting guidelines for your city is usually enough to understand the basics.
When you’re in the clear, you can move forward with confidence.
Tip: Before listing, review short-term rental rules and regulations and Airbnb regulations by state to understand what applies in your area. You can also check Airbnb’s official hosting guidelines for specific listing requirements.
Decide what kind of Airbnb you want to run
Not all Airbnbs work the same way, and the setup you choose will affect everything from your workload to your earning potential.
The first decision is what you’re actually offering:
- An entire property
- A private room in your home
- A shared space
Each comes with a different level of involvement. Renting out an entire place gives guests more privacy, but usually means handling full turnovers between stays. Hosting a room in your home can be more flexible, but involves more day-to-day interaction.
Earning Potential by Listing Type (U.S. Average)
|
Listing Type |
Avg. Nightly Rate |
|
Private room (up to 2 guests) |
~$203 |
|
Entire unit (up to 4 guests) |
~$305 |
Source: iPropertyManagement / Airbnb Host Data
It’s also worth thinking about how often you want to host.
Some people rent out their space occasionally, such as when they’re travelling. Others treat Airbnb as a consistent income stream with regular bookings throughout the year.
There’s no single “best” approach here. The right setup depends on:
- How much time you want to spend managing it
- Whether you’ll be on-site or not
- Your income goals
Getting clear on this early makes the next steps much easier, especially when it comes to preparing your space and setting expectations for guests.
Prepare your space for guests
Once you’ve decided what kind of Airbnb you want to run, the next step is getting your space ready.
This doesn’t mean a full redesign. It means making sure your space is clean, functional, and comfortable for someone who’s never been there before.
Rule of thumb: If something would confuse or frustrate you as a guest, fix it now.
Focus on comfort first
It’s easy to get caught up in decor, but comfort matters more.
Guests will remember:
- Whether the bed was comfortable
- If the space felt clean
- Whether things were easy to use
You don’t need expensive furniture or a perfectly styled interior. A simple, neutral space that feels well-maintained will go much further than something that looks good in photos but doesn’t function well.
Cover the essentials
At a minimum, your space should include:
- Clean bedding and extra towels
- Reliable Internet access (if applicable)
- Basic toiletries (soap, toilet paper, dishwashing liquid)
- Kitchen essentials (glasses, cutlery, a kettle or coffee setup)
- Clear instructions for things like heating, appliances, and Wi-Fi access
Think about what someone would need if they arrived late, tired, or unfamiliar with the area. The fewer questions they have, the better the experience.
Don’t skip safety basics
Safety is easy to overlook, but it’s one of the first things guests notice when something goes wrong.
Make sure you have:
- A working smoke detector
- A basic first aid kit
- Clear emergency information (such as local numbers or building access details)
If your space has anything unusual like tricky locks, older appliances, or specific rules, be sure to explain them clearly.
Make it easy to navigate
Labeling things, leaving simple instructions, or explaining how something works can prevent a lot of back-and-forth later. Guests shouldn’t have to message you just to figure out how to turn on the heating or find the Wi-Fi password.
This is also where many hosts start thinking about how to organise information more clearly, especially as they get more bookings.
As you start hosting more often, this kind of information can quickly become repetitive to send manually.
Many hosts handle this by putting everything in one simple guide guests can check themselves, like Wi-Fi details, check-out steps, and local recommendations. It saves time, cuts down on repeat messages, and keeps things more organised.
.png?width=1080&height=1080&name=Bohemian%20bungalow%20(4).png)
Create your Airbnb listing
When your space is ready, it’s time to create your listing on Airbnb. This is what potential guests will see when deciding whether to book, so clarity matters more than clever wording.
You don’t need to overthink it. A good listing is simply one that sets clear expectations and makes it easy for guests to understand what they’re getting.
Write a clear, honest description
Start with the basics:
- What type of space it is
- Who it’s best suited for
- Anything important guests should know upfront
Avoid trying to make it sound perfect. It’s better to be accurate than overly polished. If your space is small, say that. If there are stairs, mention it. Clear expectations lead to better reviews.
Tip: Not sure how to describe your space? Use our free listing description generator to get a clear starting point.
Use photos that reflect the real experience
Photos are one of the biggest factors in whether someone clicks on your listing. The data backs this up: A Carnegie Mellon University study found that professional photos increased yearly revenue by an average of $2,455 per listing, and were booked more frequently.
Other large-scale analyses of Airbnb listings have also found that improving photo quality can increase bookings by around 25-28%.
You don’t need top-dollar professional photography, but your photos should be:
- Well-lit (natural light works best)
- Clean and uncluttered
- Taken from angles that show the full space
Include:
- Bedroom
- Bathroom
- Kitchen or main living area
- Any standout features (balcony, view, workspace)
Your objective is to help guests picture themselves staying there.
Set expectations with house rules
Unclear rules can lead to awkward situations later, especially around things like noise or check-out.
Keep them simple and clear:
- Check-in and check-out times
- Smoking or pet policies
- Noise expectations
- Any building-specific rules
A good set of rules keeps expectations known from the start.
Tip: If you’re not sure what to include, look at similar listings in your area and see what expectations they’ve made, and check out our guide to setting Airbnb house rules.
Fill in the details properly
Airbnb will prompt you to add things like amenities, location details, and availability. It’s worth taking a few extra minutes here, as these fields directly affect how often your listing shows up in search.
Be specific about what you offer, don’t just tick boxes. Think about what guests are actively filtering for.
Guests often filter listings based on:
- Wi-Fi (especially if they’re working remotely)
- A dedicated workspace
- Kitchen access
- Self check-in
If something applies to your space, make sure it’s clearly included.
It’s also worth double-checking accuracy. If you list a workspace, for example, guests will expect more than a small table in the corner.
Missing or unclear details don’t just create confusion. They can also mean your listing gets filtered out before guests even see it.
Set your pricing
Pricing can feel like the most uncertain part when you’re starting out, but you don’t need a complex strategy to get it right.
The goal at the beginning isn’t to maximise profit. It’s to get your first bookings and build up a few strong reviews.
If you start too high without reviews, it can slow down your first bookings.
For context, the average nightly rate in North America is around $208 per night, and the average U.S. host earns approximately $14,000 per year. However, these figures vary significantly depending on your location, property type, and how often you host.
Tip: If you’re unsure how to price your listing, our free pricing calculator can help you set a competitive starting rate.
Look at similar listings
Start by checking other listings in your area on Airbnb.
Look for places that are:
- Similar in size
- In the same neighbourhood
- Offering comparable amenities
This gives you a realistic range to work with.
Start slightly lower to build momentum
If you’re brand new with no reviews, pricing slightly below similar listings can help you get your first bookings faster.
Those early stays matter. A few positive reviews will make it much easier to:
- Increase your price later
- Attract more consistent bookings
Think of this as a short-term trade-off to build trust.
Adjust as you go
Pricing isn’t something you set once and forget.
As you start getting bookings, pay attention to:
- How quickly your dates fill up
- Which days are more in demand
- Seasonal changes in your area
You can then adjust your pricing based on what you’re seeing.
Keep it simple at the start
There are tools and strategies for dynamic pricing, but you don’t need them right away.
A simple approach works well:
- Start with a competitive nightly rate
- Adjust gradually based on demand and reviews
When you’re more established you can explore more advanced pricing if you want to optimise further.
Get your first bookings
Getting your first booking is often the hardest part. You don’t have reviews yet, and guests are naturally more cautious when choosing a new listing.
You don’t need anything complicated to get started. A few small things make a big difference early on.
Respond quickly
Guests often message multiple hosts at once, so slower replies can mean missed bookings.
Fast responses:
- Build trust
- Increase your chances of getting the booking
- Help your listing perform better over time
This isn’t just anecdotal advice, it’s built into Airbnb’s system. To qualify for Superhost status, hosts must respond to at least 90% of booking messages within 24 hours. Even a short, friendly reply is enough to show you’re active and reliable.
Keep your calendar up to date
Make sure your availability is accurate.
If guests see inconsistent dates or delays in confirming availability, they’re more likely to book elsewhere. Keeping your calendar updated makes the booking process feel smoother and more reliable.
Tip: If you’re managing bookings across platforms or multiple properties, a Property Management System can help you keep everything organised in one place.
Be flexible at the beginning
When you’re starting out, a bit of flexibility can help you lock in those first few stays.
That might mean:
- Accepting shorter stays
- Being open to different check-in times
- Adjusting your pricing slightly
Keep in mind that the average Airbnb guest stays for 4.3 nights per booking, so setting minimum stays of 1-2 nights in the early days gives you the best chance of filling your calendar.
Focus on your first reviews
Your first few guests are the most important.
A small number of positive reviews can quickly change how your listing is perceived. Once you have them, future guests feel more confident booking with you.
That’s why it’s worth putting in a bit of extra effort early on:
- Clear communication
- A clean, well-prepared space
- A smooth check-in experience
Tip: Want more 5-star reviews in the first place? Use Touch Stay’s 5-star review pop-up feature to prompt guests at the right moment, after positive interactions, when they’re most likely to leave great feedback.
Make your hosting easier with Touch Stay
After a few stays, patterns start to show up.
Guests ask the same questions. You send the same instructions. Small things, like explaining check-in or sharing Wi-Fi details, start to take more time than they should.
That’s usually the point where it makes sense to simplify your setup.
Instead of replying to the same messages every time, you can:
- Save replies for common questions
- Keep check-in steps and house instructions in one place
- Share local recommendations without rewriting them for each guest
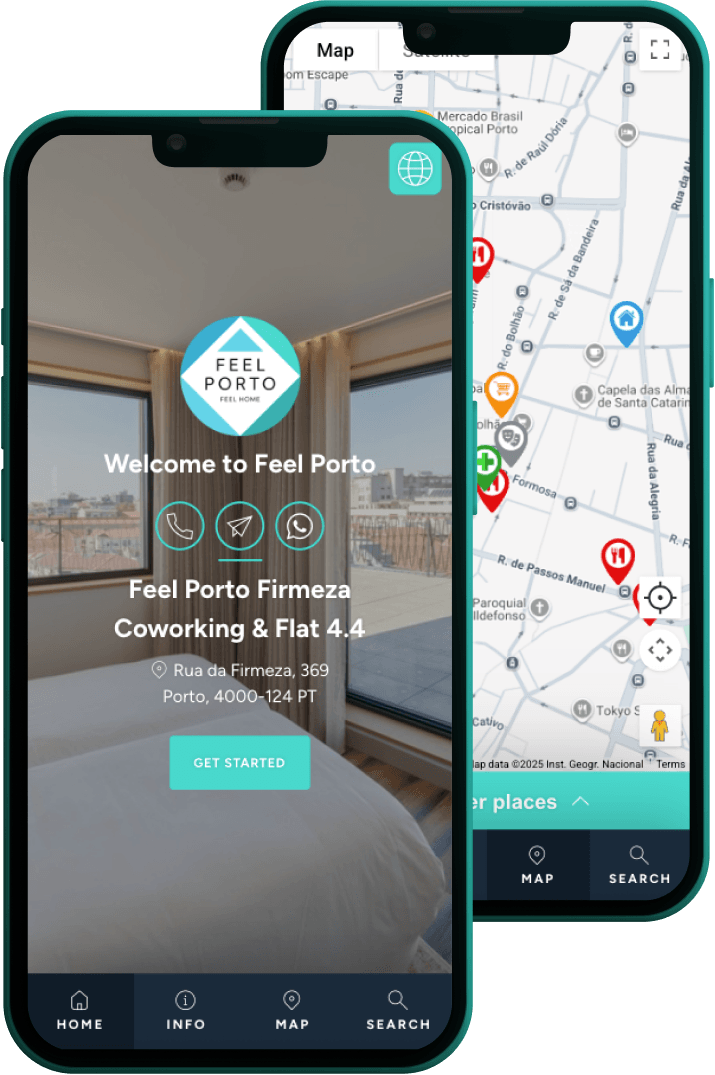
With Touch Stay, you can create a beautiful digital guidebook that gives guests everything they need in one place, from Wi-Fi details and check-in instructions to house rules and local recommendations.
Guests can access it before and during their stay, which means fewer repetitive questions thanks to our AI Chatbot, and a smoother experience overall.
It’s also designed to be easy to set up, even if you’re just getting started. You’ll find step-by-step guidance in the Touch Stay Knowledge Base, along with practical tips on what to include and how to structure your guide.
If you want to see how other hosts are using it, the Touch Stay Rock Stars community is a useful place to learn from real setups, get ideas, and improve your guide over time.
Want to try creating a guide for your new Airbnb?
Final thoughts
Starting an Airbnb is about getting the basics right.
If your space is clear, your listing is accurate, and guests don’t need to message you for everything, you’re in a good place.
The rest gets easier as you go.
Frequently asked questions.